2002 LM7 Valley Pan Torque Specs: Essential Guide for DIY Enthusiasts

When working on a 2002 LM7 engine, ensuring proper torque specifications is critical for maintaining engine integrity and performance. The valley pan, a key component of the intake system, plays a pivotal role in preventing oil leakage and ensuring the engine runs smoothly. Improper installation or torque settings can lead to significant issues, including oil leaks or damage to the engine components.
This guide provides a detailed overview of the 2002 LM7 valley pan torque specs purpose, torque specifications, and tips for proper installation to help you achieve optimal results in your engine repair or maintenance project.
What is the Valley Pan?
The valley pan is a structural cover that sits beneath the intake manifold and spans the engine’s lifter valley. Its primary purposes include:
- Sealing the Lifter Valley: It prevents oil from leaking out of the lifter valley and into other engine components.
- Support for the Intake Manifold: It provides a base for the intake manifold and helps to maintain a proper seal.
- Oil and Debris Control: It prevents debris from entering the lifter valley and ensures smooth oil circulation.
Torque Specifications for the 2002 LM7 Valley Pan
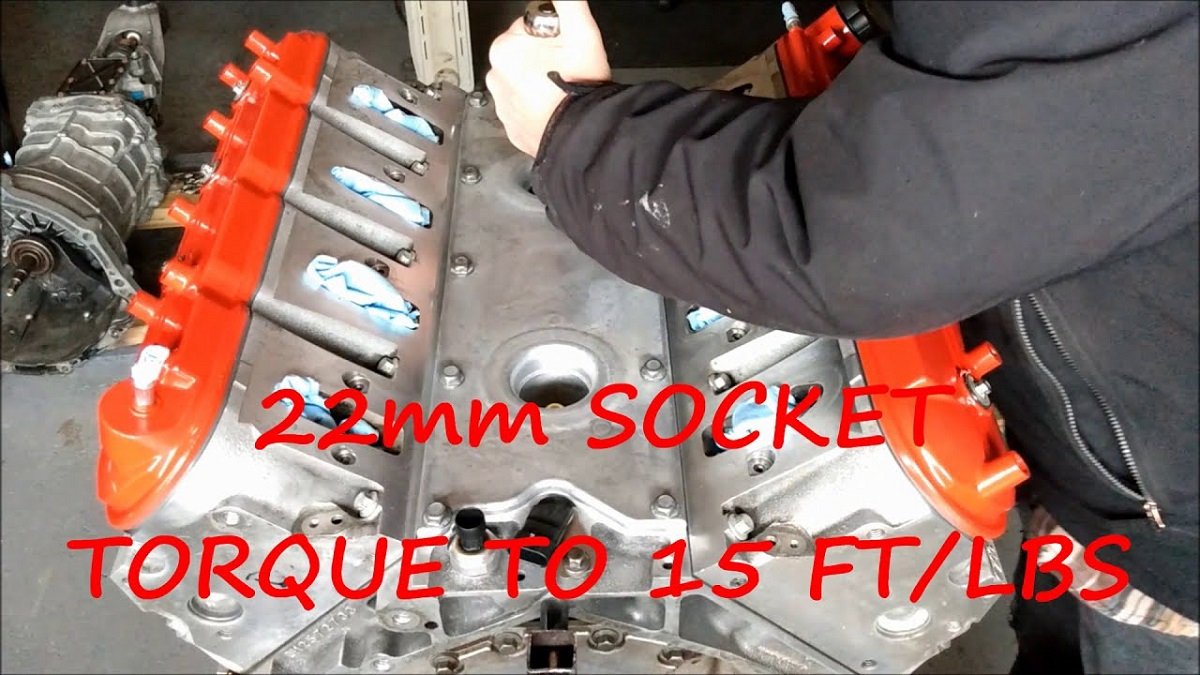
For the 2002 LM7, a member of GM’s LS engine family, the valley pan bolts require precise torque to ensure a proper seal. The recommended torque specification is:
- 18 ft-lbs (24 Nm)
This value applies to the bolts securing the valley pan to the engine block. It is essential to use a calibrated torque wrench to achieve this specification accurately.
Tools and Materials Needed
Before you start, gather the necessary tools and materials:
- Torque Wrench: A reliable, calibrated torque wrench is critical for precision.
- Socket Set: Ensure you have the correct socket size for the valley pan bolts.
- Threadlocker (Optional): Use a threadlocker if specified by the manufacturer or if you’re concerned about bolts loosening over time.
- Clean Rag or Cloth: To clean the mating surfaces and remove debris.
- Gasket (if applicable): Replace the valley pan gasket to ensure a proper seal.
Step-by-Step Installation Guide
Follow these steps for a successful valley pan installation:
- Preparation:
- Disconnect the negative battery terminal to prevent accidental starts.
- Drain the engine oil and coolant if necessary, depending on the scope of your work.
- Remove the intake manifold carefully, taking note of any connections and hoses.
- Clean the Surface:
- Use a clean rag or cloth to wipe down the mating surfaces on the engine block.
- Remove any old gasket material or debris to ensure a smooth and clean surface.
- Position the Valley Pan:
- Place the new or cleaned valley pan onto the engine block.
- Ensure the gasket (if used) is properly aligned and seated.
- Hand-Tighten Bolts:
- Insert the bolts into their respective holes and tighten them by hand to hold the valley pan in place.
- Torque the Bolts:
- Using a torque wrench, tighten the bolts to 18 ft-lbs (24 Nm).
- Follow a crisscross or star pattern to evenly distribute pressure and ensure a uniform seal.
- Reassemble Components:
- Reinstall the intake manifold, reconnect hoses, and secure any additional components.
- Refill the engine with oil and coolant if they were drained.
- Final Check:
- Double-check all connections and bolts to ensure everything is secure.
- Start the engine and inspect for leaks or abnormalities.
Common Mistakes to Avoid
- Over-Tightening Bolts:
- Applying excessive torque can damage the threads or warp the valley pan, leading to leaks.
- Reusing Old Gaskets:
- Always use a new gasket to ensure a proper seal. Old gaskets may not provide adequate sealing and can lead to leaks.
- Skipping Surface Cleaning:
- Failing to clean the mating surfaces can result in improper sealing and oil leaks.
- Ignoring Torque Patterns:
- Tightening bolts in a random pattern can lead to uneven pressure and compromised sealing.
Why Proper Torque Matters
Using the correct torque ensures:
- Leak Prevention: Properly tightened bolts help create a secure seal, preventing oil or coolant leaks.
- Component Longevity: Correct torque prevents warping or damage to the valley pan and engine block.
- Optimal Performance: A properly sealed valley pan contributes to the engine’s overall efficiency and reliability.
Conclusion
The 2002 LM7 valley pan torque specs are a vital piece of information for anyone working on this engine. By following the recommended torque value of 18 ft-lbs (24 Nm) and adhering to proper installation practices, you can ensure a leak-free and reliable engine. Always prioritize accuracy, cleanliness, and attention to detail to achieve the best results in your repair or maintenance project.


